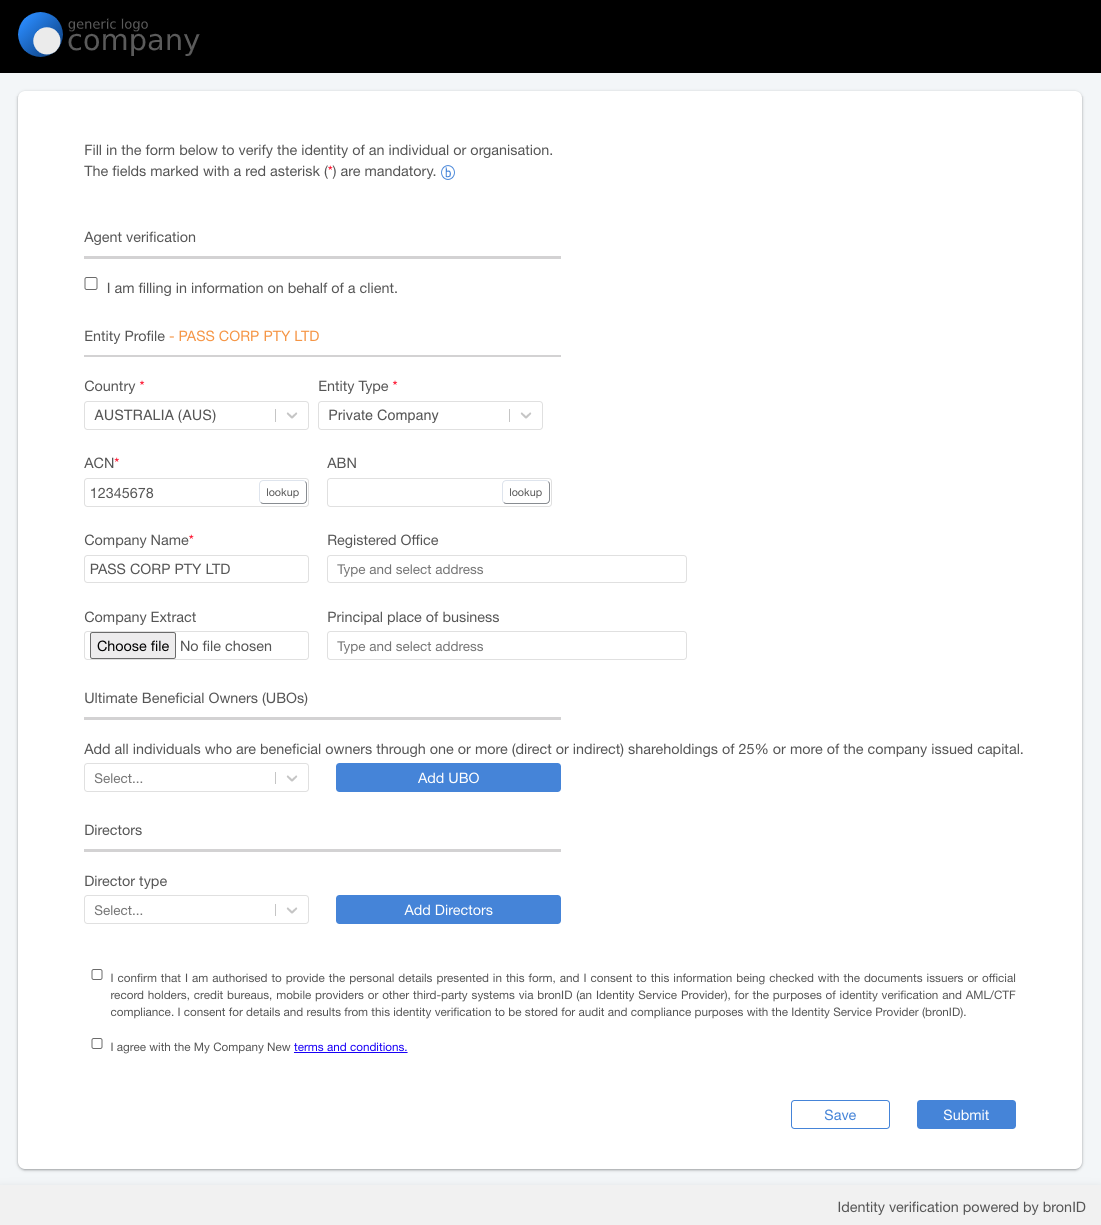
To run an identity verification via the White-label Forms, first you need to configure your White-label Forms in the Settings section of the bronID Portal.
Step 1: In the bronID Portal, go to Settings -> Developers ->API keys and follow the instructions on this link to configure your Service UUID.
Step 2: Go to Settings -> Whitelabel forms -> Configuration and follow the instructions on this link to configure your Forms.
Step 3: Once your Forms are configured, you can access them via your unique link https://preview.bronid.com/idform/[mysevicename].
When running an identity verification of an organisation (KYB), you can get four types of results: Pending, Info, Verified or Rejected. You can find more information about the interpretation of the results on the following link.
To achieve any of the outcomes in the bronID test environment, Pending, Info, Verified or Rejected, you must follow the scenarios described in the table below:
Examples:
Verified: Entity name = Pass Corp Pty Ltd
Info: Entity name = Info Corp Pty Ltd
Run a test verification
Step 1: Go to https://preview.bronid.com/idform/[mysevicename]
Step 2: Select the country of incorporation. The data collection form for the selected country will automatically be displayed in the bronID Portal.
Step 3: Fill out the form with the data format from the table above to get the desired outcome (Pending, Info, Verified or Rejected). Do not test with real values. The bronID test environment does not have access to production data.
Step 4: Add UBO information following the guidelines in the KYC tutorial.
Step 5: Provide consent for processing the supplied information by clicking the consent checkbox.
Step 6: You can see the result in KYC>Results>Organisation.
As the bronID test environment does not have access to production data, the test verification of organisations will not return real ownership trees or data about the individuals. Follow this link to learn more about the identity verification results in the production environment.


