
Setting Up a Rescreening Schedule for Negative Media
- Navigate to Your Account: Find your account in the top-right section of the Portal.
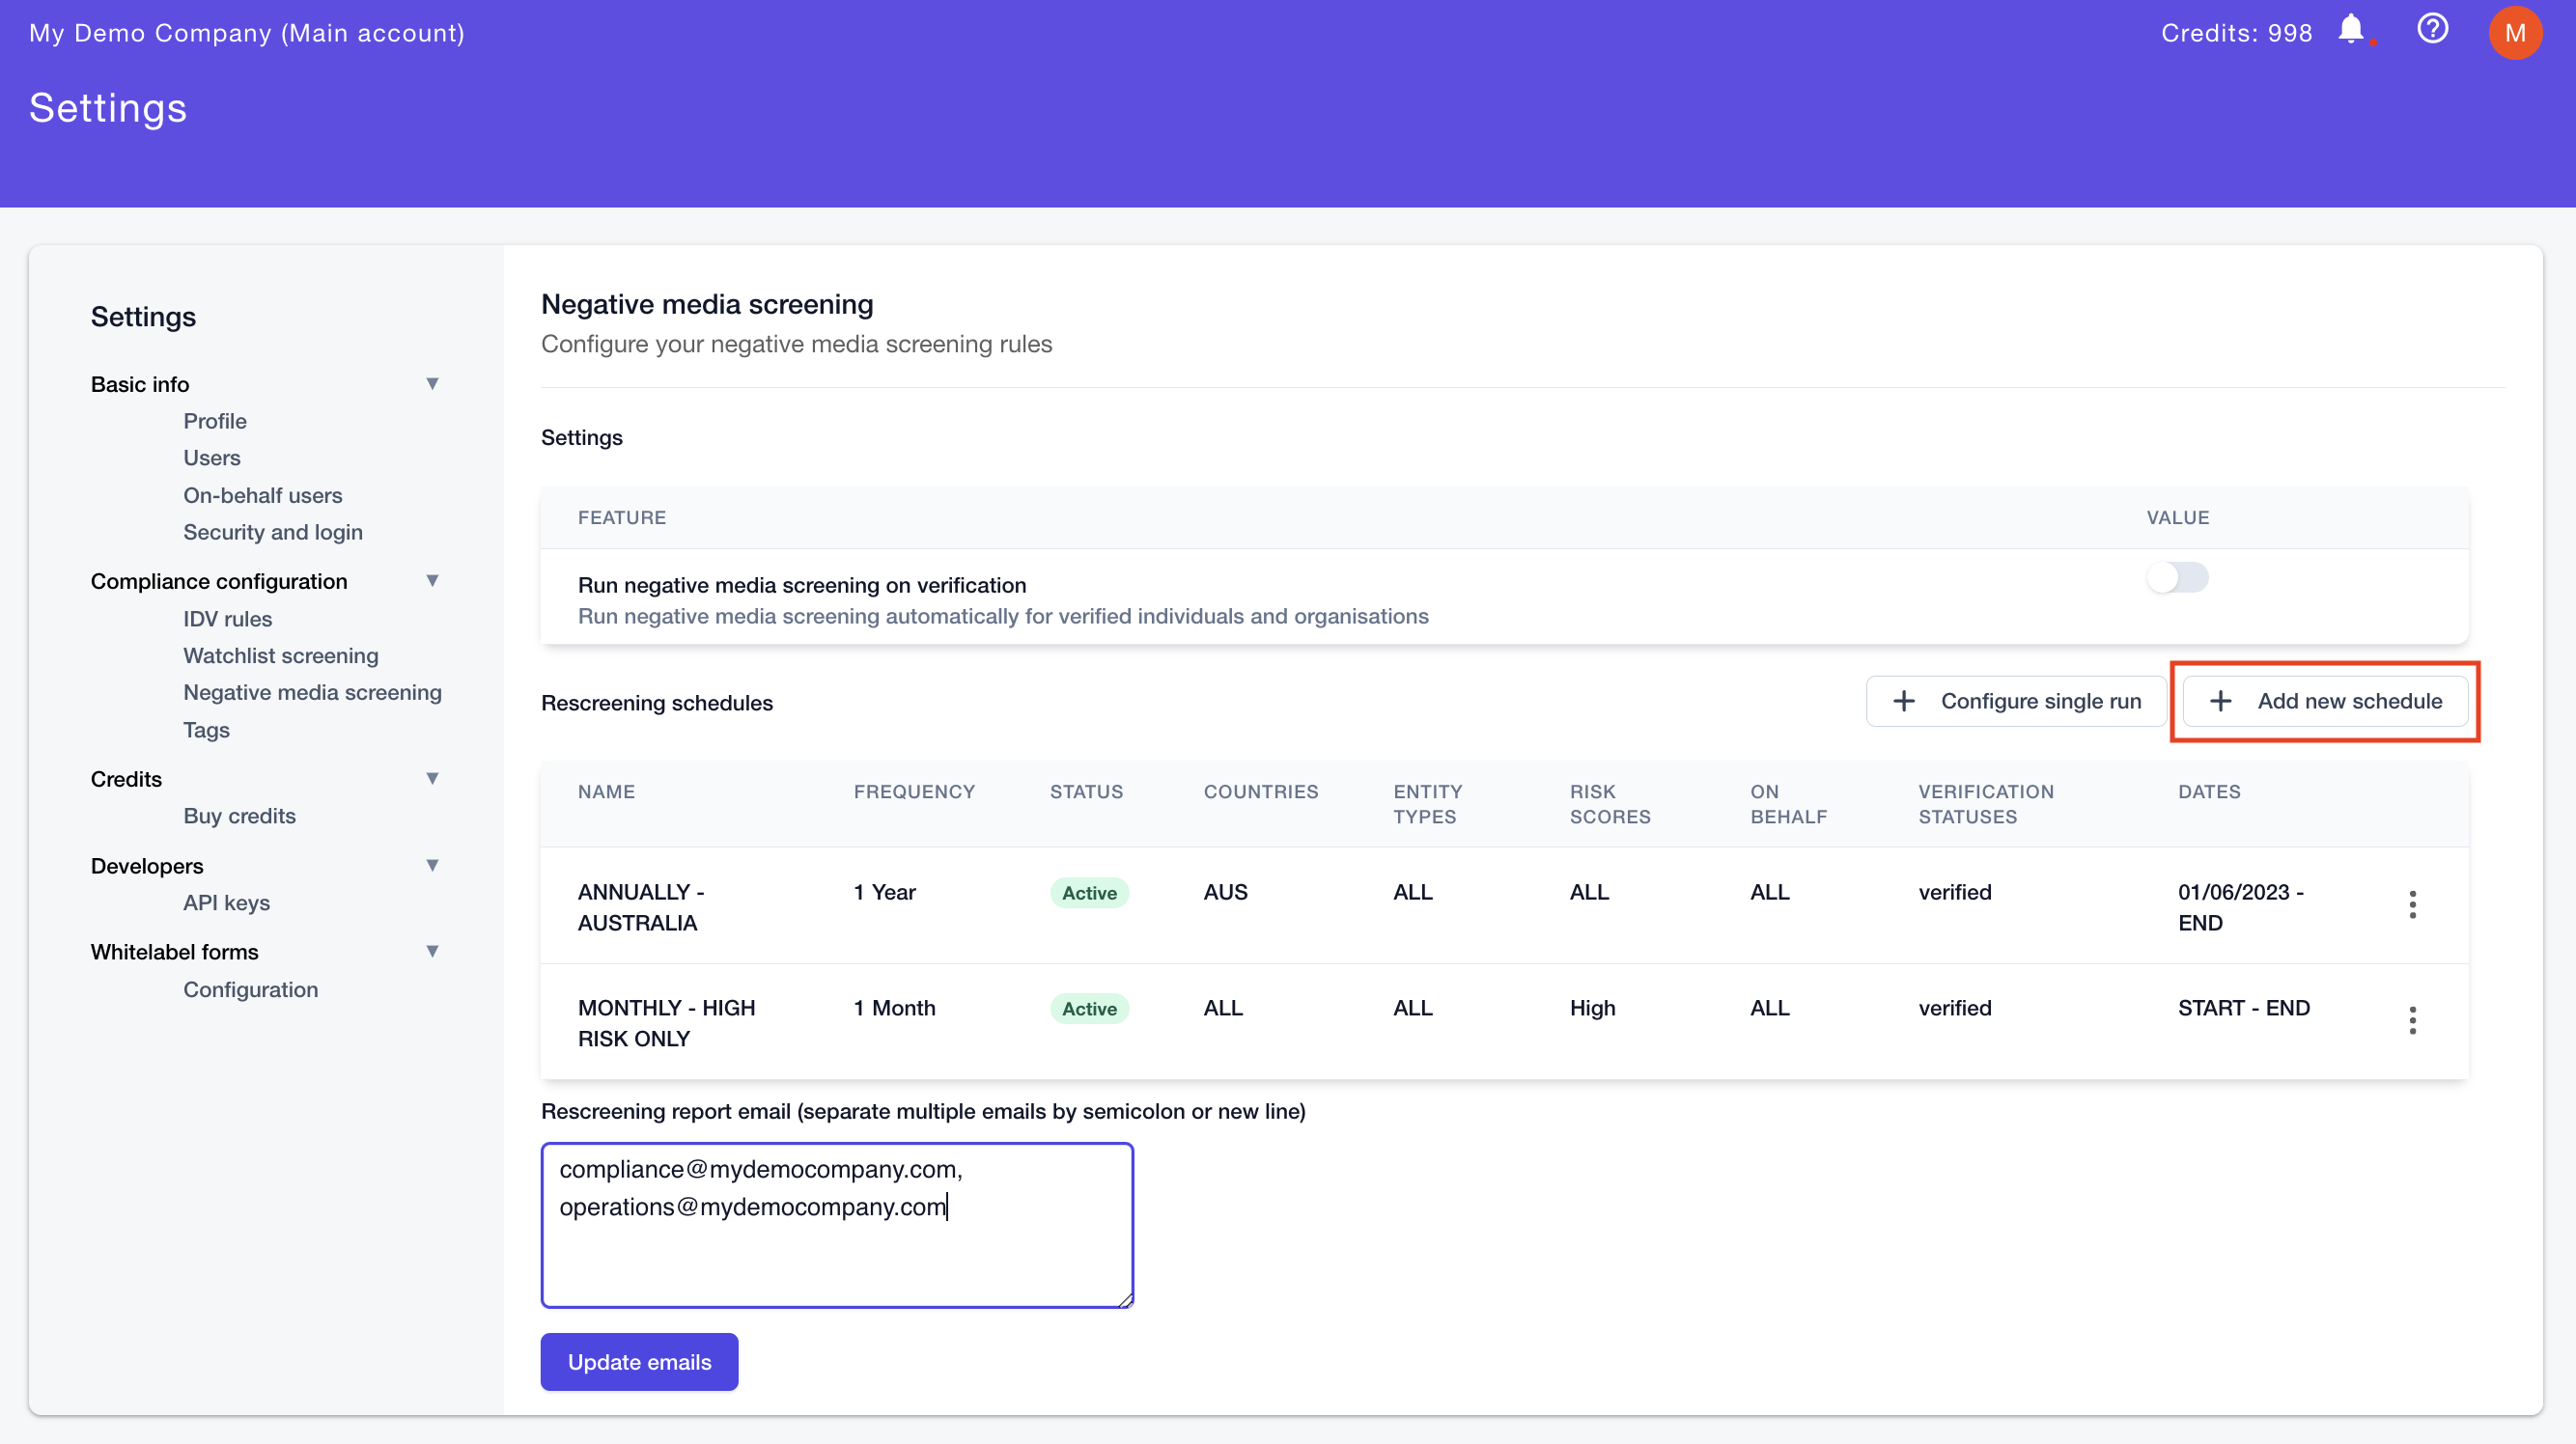
- Access Negative Media screening: Click on "Settings" and then select "Negative media screening" from the left menu.
- Create a New Schedule: Click on "Add new schedule".
- Configure the Schedule: Add the schedule name, select the desired frequency of rescreening, and choose the start and end dates for the submissions you want to rescreen. Specify the IDV risk, verification status, types of entities, and country of residence or incorporation for the submissions you want to rescreen. If you have a Distributor subscription, you can also specify only submissions from certain "on-behalf" accounts to be affected.
- Save Your Changes: Click "Save", and the system will begin processing the rescreening in the background.
- [Optional] Set Email Alerts: Designate email addresses at the bottom of the page to receive alerts when a rescreening report is generated.
Understanding the Rescreening Process
Once you have set the schedule, the submissions will start indexing, and the rescreening will occur once a particular submission that fits the selected criteria reaches the date interval at which it needs to be rescreened. For example, if you have selected all high-risk submissions that are verified to be rescreened every 3 months, a submission will be rescreened once 3 months have passed since its last screening.
Accessing the Rescreening Report
- Go to Results: Click on the "Results" section and select the "Rescreen - NM" tab to view all established rescreening schedules.
- Select a Schedule: Click on the desired schedule name, then on the right slider, click "Show details".
- View Detailed Information: You can see a list of rescreened submissions and compare the newly calculated IDV risk with the previously calculated IDV risk. Here, you can also export the rescreening results in a CSV format if needed by clicking on the "Export to Excel" button above the table.
- Inspect Individual Submissions: Click on each rescreened submission and then on the right slider, click "Show details" to see the detailed result of the Negative media screening result.

